
Learning Outcomes
-
focusing a topic,
-
adapting it to the understanding of a particular audience,
-
organizing main points coherently and supporting them with adequate detail, and
-
delivering a message effectively using appropriate audio and visual aids.
Zen and the Art of Oral Presentation

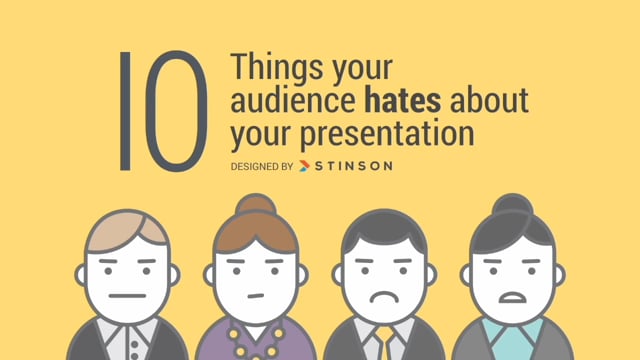
Bad presentations

Presentation Zen
Zen Presentations utilize “restraint in preparation, simplicity in design, and naturalness in delivery.” –Garr Reynolds

Garr Reynolds’s TEDx Talk
Describe the top 2-3 presentation principles you learned from Garr Reynolds’s TED Talk. What strategies do you plan to incorporate into your own oral presentation?

The Oral Rhetorical Situation
-
A master storyteller uses
-
Visual elements (they used hand-drawn slides) to tell a story to
-
An engaged audience.
Audience
Who’s your audience?
What an Audience Wants
Think about when you’ve watched someone else’s oral presentation. What elements did you appreciate about it? Beautiful images? Good data? Humor? A compelling story? Confident delivery? Did anything not go well? How can you apply all this to your own presentation? In other words, what do you think your audience wants?
-
What do they already know? This determines how much background info you must provide.
-
Where do they stand on the issues related to your topic? Do you think they’ll be sympathetic about your topic coming into your presentation? Try to put yourself in their shoes: anticipate their objections or concerns, answer their questions, play to their passions. If you don’t know where they stand, you can ask a few of them as you prepare your presentation. In the business world, this is called market research and involves surveys and focus groups.
-
What kind of language style or formality will they best respond to? You’ll use a different level of formality and vocabulary when addressing your professor versus talking to your four-year-old cousin. Similarly, if you aim too formal or too high in your vocabulary, your audience either won’t understand or will see you as a snob (or both). If you aim too casual, they’ll dismiss you as uninformed or will think you’re insulting their intelligence. Strike a balance.
-
What entertains them; what do they find interesting? This can help you figure out something that will grab their attention. Most college students respond well to visuals and videos as well as compelling stories. But you can also get their attention by stepping away from the technology and doing something offline like a demonstration, discussion, or even dance.
-
Which appeals will they best respond to?
-
Evidence and Reasoning–stay organized; use data and evidence to back up your points; set up a clear, logical progression from point to point.
-
Character–show through citations that you’ve done your homework, tastefully name-drop, use language that will convince them you’re knowledgeable without being full of yourself, dress like a professional.
-
Emotion–tell stories, show pictures or videos that demonstrate the impact on people, show vulnerability, pull at their heartstrings.
-
Zen Connection
Purpose
What’s your point?
-
To inform
-
To persuade
-
A mix of the two
Call to Action
-
First, they talk about a problem (the status quo),
-
Then they introduce a solution (the new bliss) and
-
Shift back and forth throughout the presentation between the “status quo” and the “new bliss.”
-
Finally, they end with a call to action.
Purpose and Call to Action
Take a minute and think of your own Presentation topic and write some ideas of what your main message could be. (You should try to distill it down to one sentence.) What kind of problem and solution can you present? Now write a potential Call to Action you can make at the end of your presentation. What do you want to convince your audience to do?
Genre

The TED organization believes in “the power of ideas to change attitudes, lives and, ultimately, the world” (cite). TED chose one specific method to change the world: oral presentation.
-
Start with an attention-getting opener,
-
Give background information that includes why the topic matters,
-
Explain a problem (including evidence),
-
Suggest a solution (including evidence),
-
Perhaps go back and forth between these, and finally,
-
Call the audience to some kind of action.

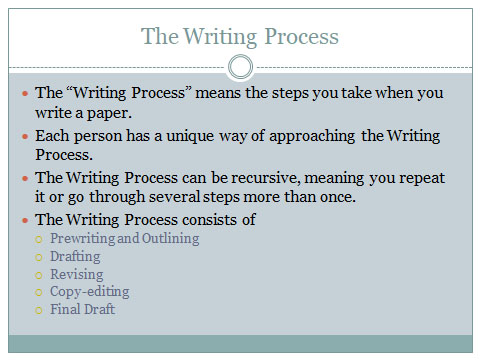
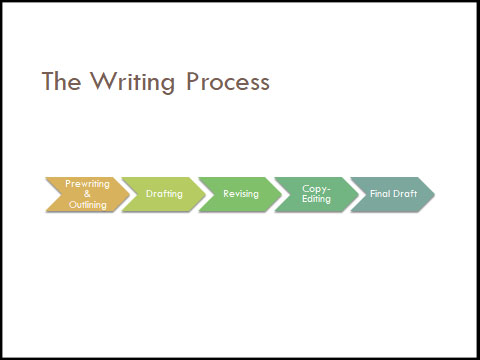
Presentation Structure
-
Start with an attention-getting opener
-
Give background information that includes why the topic matters
-
Explain a problem (including evidence)
-
Suggest a solution (including evidence)
-
Perhaps go back and forth between these
-
Call the audience to some kind of action
1. Beginning

Tell a Story
Global Story
Local Story
Give Background
Indicate Your Organization

2. Middle
-
second strongest point first
-
the rest of your points in the middle
-
strongest point last
Middle Points
Think about your purpose and the middle of your own presentation. List 2-4 main points you could make about your topic to inform and persuade your audience. List them in order of second best, your other point(s), then your best point last.
3. End
-
Donate $1 to a fund to stop World Hunger
-
Add the phone number for the suicide prevention hotline to their phones and if they suspect a friend is contemplating suicide, commit to asking them about it directly
-
Attend an event during maternal health week at our university
-
Call their legislator
-
Be more sympathetic when listening to someone who stutters
Timing
References
Presentation Tools
Resources
Slides
-
Microsoft Powerpoint
-
Keynote
-
Google Slides
-
Prezi
-
Have only one message per slide
-
Use contrast and size to highlight the most important information
-
Don’t put full sentences on slides (unless you’re showing a quote)
-
Never include more than 6 items on a slide
How Will You Improve?
Name one presentation tool–concerning visuals or delivery–that you’ve used poorly in the past that you want to improve in this presentation. Explain how you’ll do better this time around.
Images
Videos
Technical Difficulties
-
Have a backup plan (or two)
-
Try not to get flustered
-
If something doesn’t work twice in a row, calmly move on
-
If you do miss a video, etc., explain what the point of that part of your presentation would have been
Delivery
Dress

Practice
Be Confident

Conclusion
Poster Presentations
Why present a poster instead of a presentation?
What is a conference poster?
What is an academic poster session?

What are the academic poster requirements?
How do I avoid making common poster mistakes?
-
Avoid wordiness. Try to limit text to 1000 words or less.
-
Maintain adequate white space or negative space. Avoid making your poster look crowded.
-
Use a san-serif font for titles and headings and use a serif font for text.
-
Use list format when appropriate–avoid large blocks of text.
-
Use italics or bold, rather than underline, for emphasis. Underline is generally reserved for hyperlinks.
-
Use consistent single spacing.
-
Avoid hyphenating words.
-
Use consistent contrast. Avoid dark or bright or busy backgrounds behind black text.
-
Avoid crazy color schemes. make your color palette pleasing and appropriate for your research topic.
-
Label graphic elements figure 1, figure 2, and so forth. Give your graphics titles and captions. Provide the source for any graphics and visuals you don’t create yourself.
-
Use graphics and pictures. Visual elements draw and inform viewers more than text alone.
-
Make sure viewers can see and read text and visuals comfortably from 3-6 feet away.
-
Format references in the correct format for your field and position the references section at the bottom or bottom right on your poster.
-
Have a colleague proof your poster.
-
Don’t plagiarize.

How do I present a poster?
-
At most academic poster sessions you stand next to your poster and guide the reader through it; but, it should be designed so that a viewer can understand your research if you aren’t there.
-
Give viewers a SHORT 3-4 minute well-rehearsed overview of your poster and your research and then invite questions. The value of a poster session is that it is interactive.
-
Dress Professionally. Avoid chewing gum and keep your hands out of your pockets.
-
Maintain comfortable eye contact.
-
Thank viewers for visiting.
